
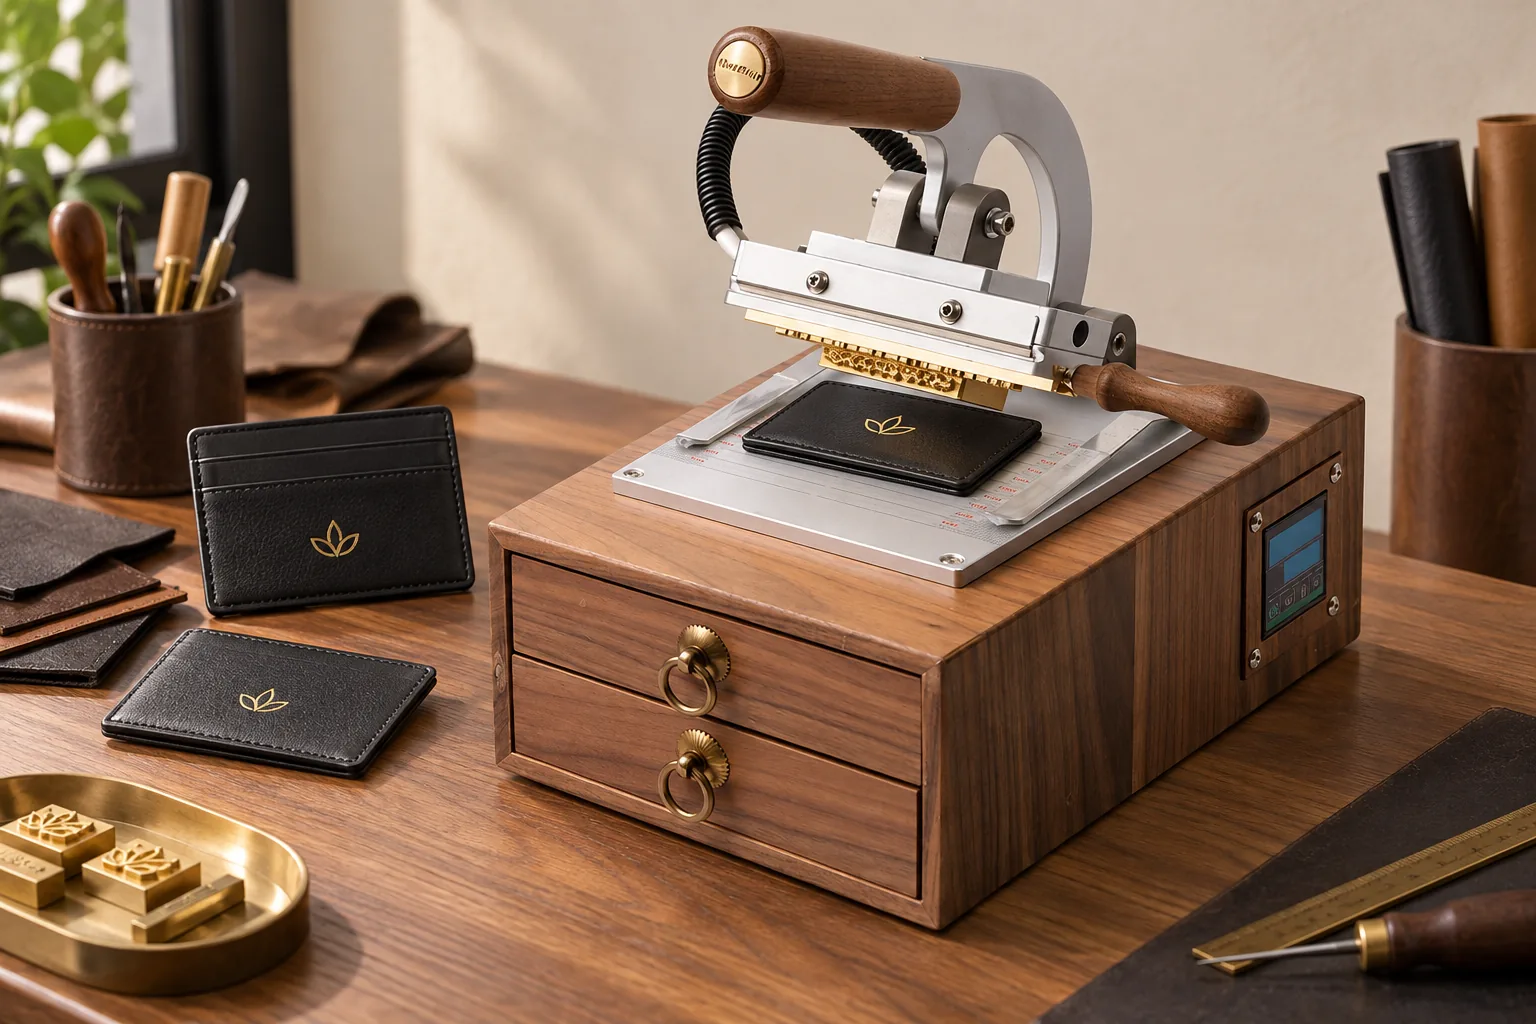
A compact hot stamping machine is a smart choice for leather studios producing custom logos in small batches. The best machine is not simply the smallest — it should match the artwork, the material and, just as importantly, the way the operator actually works. Two compact presses with the same heater can behave completely differently in a real workshop if one has a graduated table and organized tooling and the other does not.
1. Start with the leather product and logo
List the items you plan to stamp: card holders, wallets, straps, patches or finished bags. For each, measure two things that buyers often conflate:
The complete die, not only the artwork. A logo that reads 50 × 20 mm on the product may need a die plate 60 × 30 mm once bevels and mounting hardware are included. The heating area must fit the die with margin for secure mounting — a die that overhangs the heater stamps unevenly at the edges, and no settings change fixes that.
Whether the finished product lies flat. A flat patch positions itself; a sewn wallet does not. Uneven seams, pockets, zips and hardware may need a support fixture or a recessed work surface so the stamping area alone receives the pressure. Check the machine's clearance against your thickest product, not your thinnest — clearance that fits a card holder may not fit a padded bag flap with lining.
Send the supplier a photo of each product with the logo position marked. Compact presses vary in table height and throat depth, and one photo settles questions that five specification lines cannot.
2. Look for controllable heat and direct pressure
Leather coatings and foils react differently to temperature, and successful settings live inside a narrow window — typically 80–130°C for leather-grade foil. What separates a workshop tool from a toy is whether a successful setting can be repeated:
A digital controller is non-negotiable. It turns "hot-ish" into a number you can write down and reproduce next week. Machines with analog dials force re-discovery of settings after every break, which quietly costs far more time than the price difference saved.
Manual pressure gives feedback automation cannot. The operator feels the material compress and the die seat into place — invaluable for samples, personalization and short runs where every piece differs slightly. A 200W heater is entirely sufficient for compact dies; leather foil transfer needs temperature control more than raw power.
Use scrap from the actual product. Adjust temperature, pressure and dwell time one variable at a time, then record the cleanest setting with the die number and foil lot. That settings log is the real output of your first week.
3. Prioritize repeatable positioning
A graduated worktable and adjustable positioning clips place every item in the same spot. This matters more than it sounds: when a logo must sit a fixed distance from an edge — the standard for branded leather goods — eyeballing placement produces a product line where every piece sits slightly differently, and customers notice.
Repeatable positioning also compounds with time. Set the stops once, and every subsequent impression needs no measuring at all. In practice, good positioning often saves more daily time than a larger heater ever could, because placement — not heat — is where small workshops lose minutes and material.
4. Consider the complete workspace
Small workshops die by clutter, not by lack of wattage. Dies, movable type, foil rolls and positioning tools all migrate toward the press — and when they live in random drawers across the bench, setup changes take ten minutes instead of one.
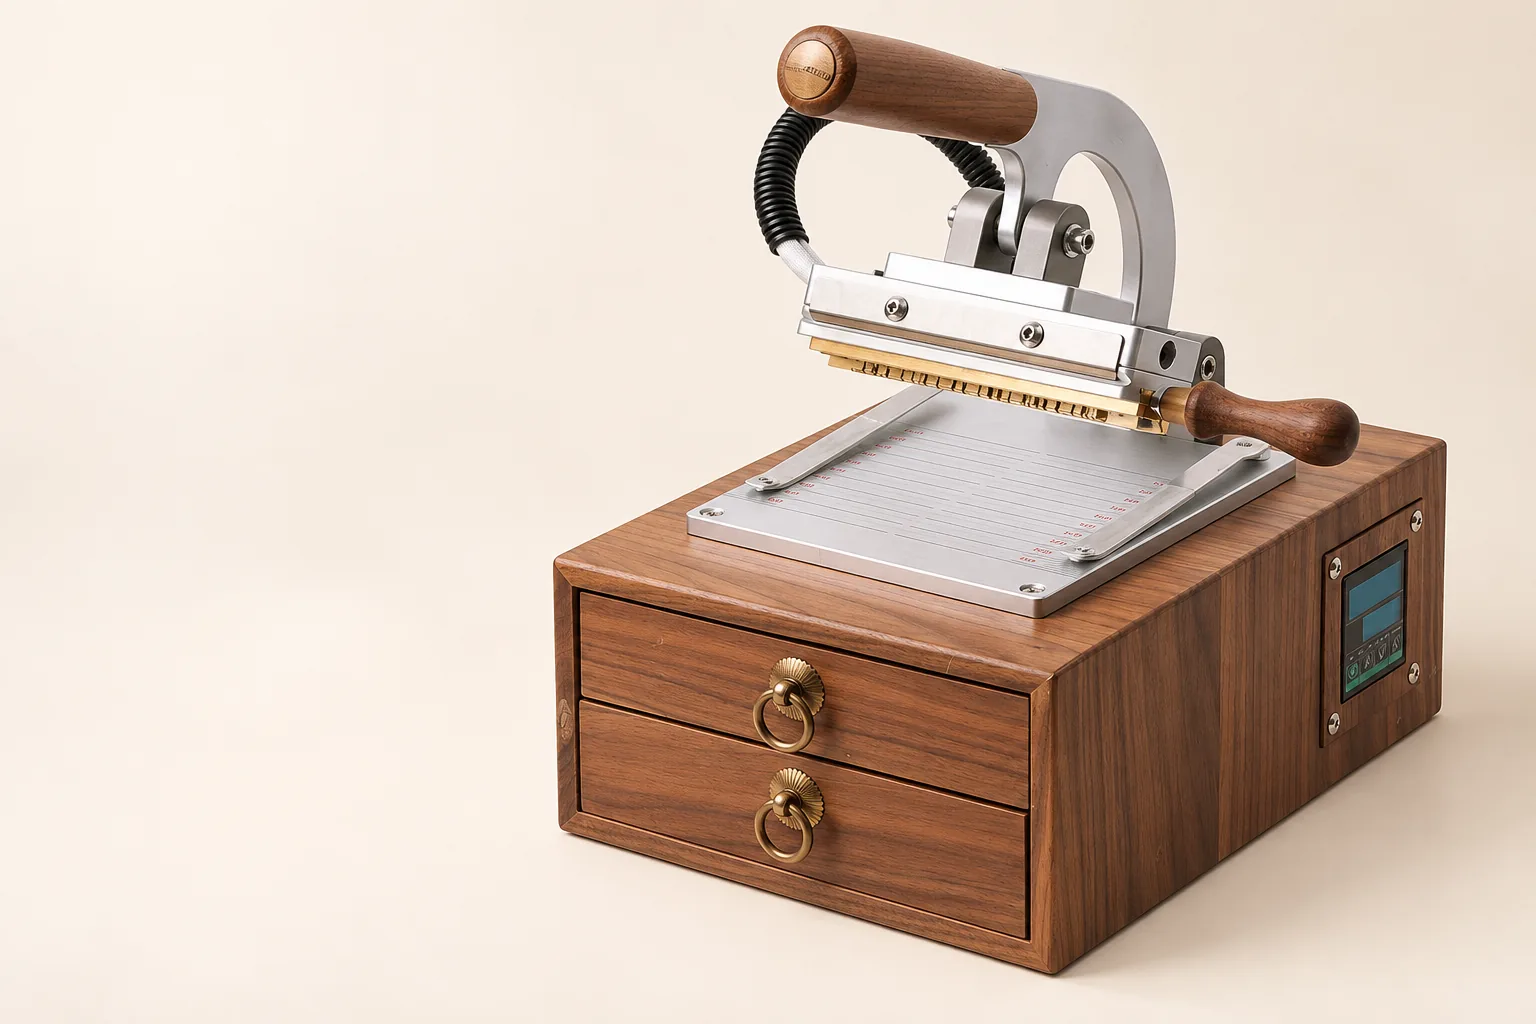
This is where integrated storage earns its place. The WT-90XT manual hot stamping machine integrates two drawers beneath its walnut base, keeping copper dies, movable type and small accessories at the stamping area rather than scattered around it. For a studio that swaps between a brand-mark die and personalization type during the day, that organization is a genuine production feature, not furniture.
Its 200W heater, 140 × 44 mm heating area and compact 200 × 298 × 238 mm body suit desktop leather branding where bench space is limited. Measure your intended bench spot before ordering — a machine you can leave set up and ready gets used daily; one you must unpack gets used rarely.
5. When is a compact manual press the right fit?
✓ Custom leather goods, samples and personalization work
✓ Logos, initials and short variable text
✓ Small batches with frequent setup changes between products
✓ Workshops with limited bench space
✓ Operators who prefer direct pressure control over automated cycles
✓ Anyone who values organized storage for dies and type
For continuous high-volume production, an automated or pneumatic press may be more appropriate — the honest test is whether the same product runs for hours at a time. For personalized leather work and flexible short runs, a compact manual machine offers a practical balance of control, footprint and cost. If you are torn between compact and full-size manual, our complete manual press buying guide covers platen formats and total budget in more depth.
QUICK QUESTIONS
Before choosing a press
Can one compact machine make both foil and blind impressions?
Yes, when the machine, die and material are compatible. Foil stamping adds metallic or pigment colour; blind embossing presses the design in without foil. Blind work usually needs slightly more pressure and less heat — one more reason a settings log pays off.
Do I need a custom copper die?
A fixed brand logo normally requires a custom die. Movable type is better for names, initials, dates or changing text, and many compact machines accept both a die plate and a type holder.
Is a 200W heater enough for leather?
Yes, for compact dies and small-batch work. Leather foil transfers between roughly 80–130°C, well within a compact heater's range. A digital controller matters more than wattage.
What heating area do I need for wallets?
Measure the complete die with mounting margin. Most wallet and card-holder logos fit comfortably in a 140 × 44 mm heating area; larger artwork belongs on a bigger platen.