
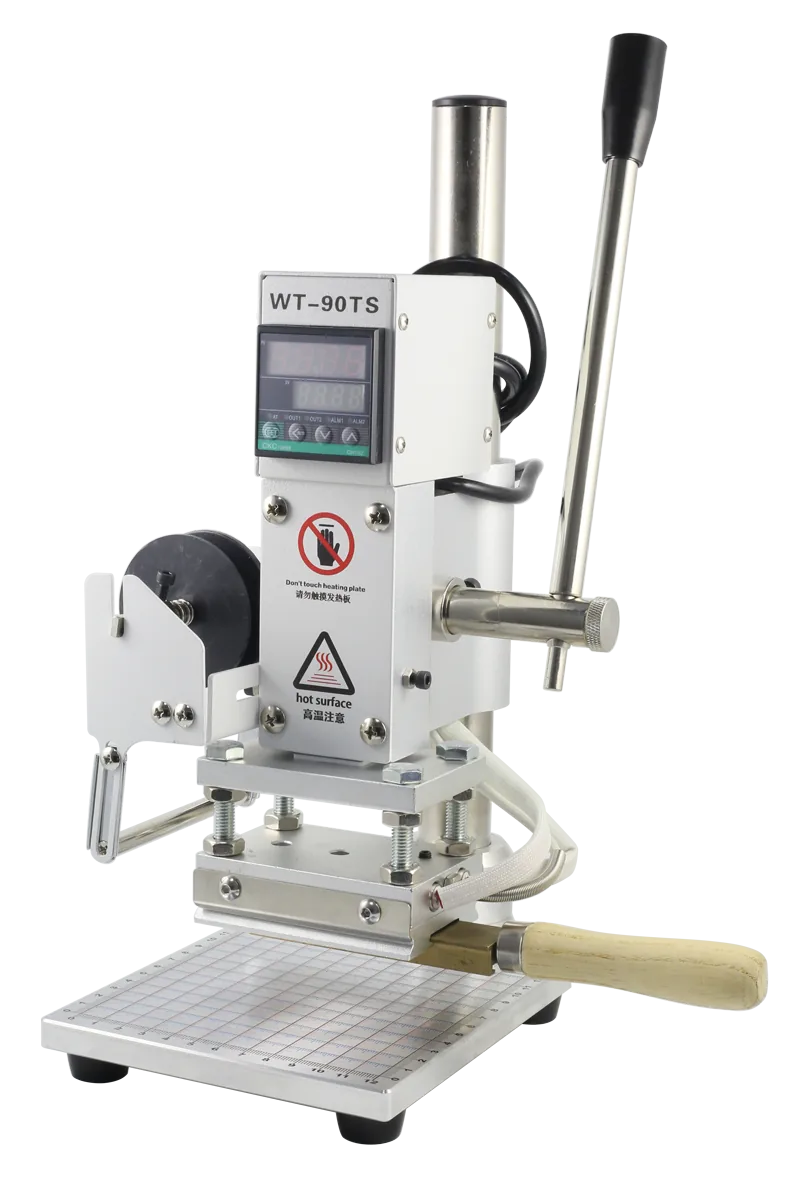
A hot stamping die is a piece of engraved metal — usually copper or brass — that carries your logo in reverse, mirrored and raised, so that heat and pressure transfer the design onto foil or into the material. It is a one-time tooling cost, and it stays with your product line for years.
That also makes the die the least forgiving part of the process. A press can be adjusted, foil can be swapped, but a die engraved from poor artwork or at the wrong depth will reproduce that mistake on every product it touches. This guide covers what buyers most often get wrong: choosing the material, preparing the artwork, and understanding what actually drives the price.
Die materials compared
Four metals and one elastomer cover almost every hot stamping job. They differ in detail resolution, lifespan and cost — and the differences are practical, not academic.
| Material | Detail | Lifespan | Best for | Trade-off |
|---|---|---|---|---|
| Copper | Finest — sharp thin lines and small text | Tens of thousands of impressions | Logo dies for leather, PVC cards, paper and packaging | Softer than brass; needs clean, dry storage |
| Brass | Very good, slightly less fine than copper | Longer than copper under continuous runs | High-volume production, embossing plates | Marginally slower heat transfer |
| Magnesium | Good | Short — thousands of impressions | Samples, short runs, fast turnaround | Wears quickly; not for permanent tooling |
| Steel | Good | Longest | Very high volume, cutting-combined tooling | Hardest and slowest to engrave; highest cost |
| Silicone rubber | Low | Medium | Uneven or curved surfaces where a rigid die cannot conform | No fine detail; heat-resistant grade required |
For most logo work the choice is copper versus brass. Copper engraves the finest detail and conducts heat fastest, which is why it is the standard for custom logo dies on leather and card stock. Brass is harder and holds its edges longer under continuous production, at a small cost in fine-line resolution. If your run is measured in tens of thousands of pieces per month, brass earns its keep; for everything else, copper is the sensible default.
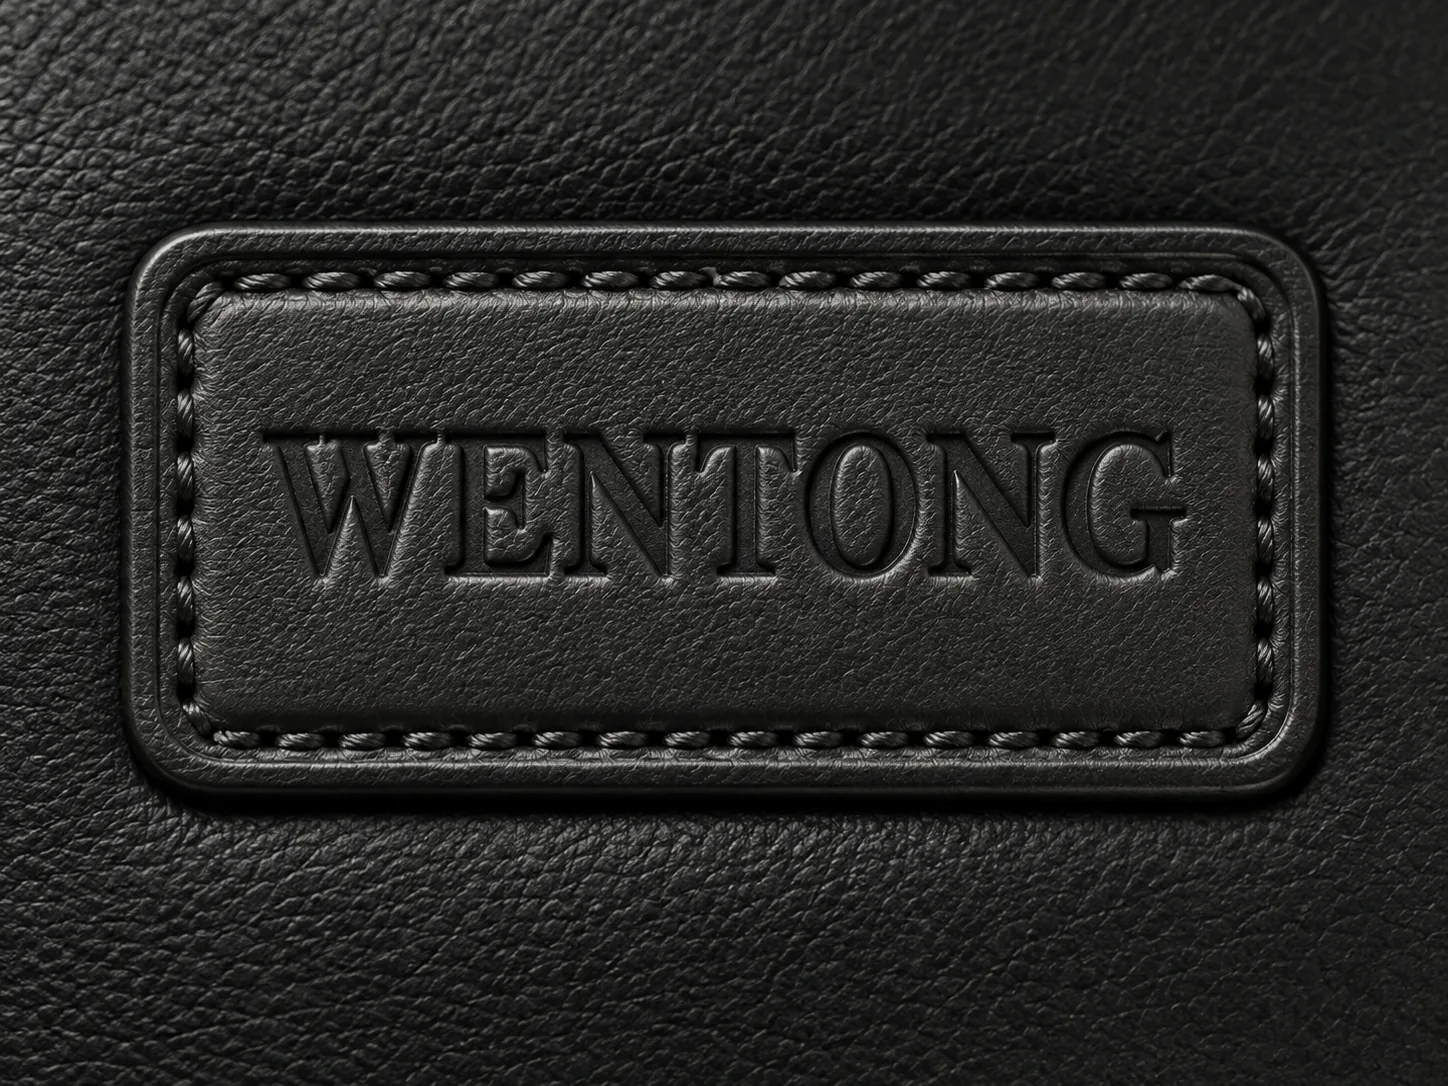
Artwork requirements: what to send and why
Die engraving starts from your file, and the file's quality caps the final mark's quality. The safest submission looks like this:
✓ Vector artwork — AI, PDF or EPS, drawn at the final die size. Vector lines engrave as vectors; enlarged bitmaps engrave as blurred edges.
✓ Size in millimetres — state the mark dimensions explicitly (for example, 40 × 20 mm). "Fit it to the machine" is not a specification.
✓ Raised or recessed — say whether the logo should stand in relief (foil stamping) or press into the surface (blind debossing). Both use the same machine; the die is cut differently.
✓ Minimum detail check — strokes below roughly 0.3 mm and text under about 6 pt (≈2 mm cap height) rarely stamp cleanly. If your artwork contains hairlines, expect the die maker to propose thickening them.
✓ Bitmap fallback — if vector files do not exist, send the highest-resolution image available (300 dpi or better at print size). The die maker will assess whether it can be engraved cleanly or needs redrawing.
One more practical note: the die is engraved mirrored, so you never need to send reversed artwork — just say which side of the product carries the mark if orientation matters.
Design rules that prevent rework
Most die rework traces back to a handful of avoidable issues:
✓ Depth before decoration. Blind (uninked) marks need enough depth to read as a shadow — typically 0.5–1.5 mm depending on material hardness. Foil dies run shallower; too much depth lets foil pool in the recess.
✓ Solid areas need texture. A large solid rectangle traps air and creates patchy transfer. Knurled or stippled backgrounds on the die release air and stamp flat.
✓ Fine lines need heat, not pressure. Hairline detail stamps cleanly when the die holds heat at the line tips; this is where copper's conductivity pays off.
✓ Two-level dies for two-level branding. If you want the logo debossed and a border foiled in one pass, that is a two-level (countoured) die — mention it at quotation, because it changes engraving time and cost.
Send the die maker your material sample description along with the artwork. A die cut for coated paper will under-perform on full-grain leather — the same artwork, but different depth, edge profile and heating behavior. Material decides the die specification as much as the logo does.
What actually drives die cost
Die pricing is mostly geometry, not mystery. Four factors dominate:
1. Die area. A 30 × 15 mm logo die uses a fraction of the material and engraving time of an 80 × 50 mm artwork die. Keeping the mark no larger than it needs to be is the single easiest cost saving.
2. Engraving complexity. A simple wordmark engraves quickly; a detailed crest with serif lettering and fine borders takes several times longer. Complexity affects price more than material does.
3. Material and thickness. Copper and brass are close in cost; magnesium is cheaper but disposable; steel costs the most. Thicker plates cost more but resist warping on larger dies.
4. Quantity. Ordering several dies for one product line at the same time shares setup cost.
Because these interact, published "per cm²" price lists are only rough guides. The reliable route is to send artwork and dimensions for a quotation — quotes are free, and the engineering check that comes with them often catches detail problems before money is spent.
The ordering process, step by step
- Send artwork, material and press model
Submit the vector file, the mark size in mm, the substrate (leather type, PVC, paper) and the machine it will run on. If you use a non-WTONG press, send its mounting plate dimensions and fixing method so the die is made to fit.
- Engineering check
The die maker reviews line widths, smallest text, depth and level structure, and flags anything that will not stamp cleanly. This is where hairlines get thickened and solid areas get textured.
- Quotation and confirmation
You receive a price based on area, complexity, material and quantity, plus the recommended material for your application. Confirm to start production.
- Engraving and sample stamp
The die is engraved, then test-stamped. A photo or physical sample of the impression lets you approve the result before it ships — worth requesting for fine-detail artwork.
- Shipping and first production run
Dies ship worldwide by courier. On arrival, pair the die with the right foil — see our stamping foil guide — and log the temperature, dwell and pressure settings that produced the approved sample, so repeat orders stamp identically.
Care and lifespan
A well-cared-for copper die serves for years and tens of thousands of impressions. The wear modes are predictable: residue buildup from foil adhesives dulls the surface, corrosion from humid storage pits the engraving, and accidental drops chip fine edges. Wipe dies clean after use, store them dry and separated, and re-polish when residue accumulates — a die that stamps patchily is often dirty, not worn. If detail genuinely softens after very long runs, the die can usually be re-engraved or re-faced for a fraction of the original cost.
Dies also outlive single products: the same logo die runs across wallets, boxes and hangtags, and across different machines in your workshop. That is why tooling is a one-time investment that amortizes across every future order — unlike the press decision, which deserves its own comparison of manual versus pneumatic setups.
QUICK QUESTIONS
Before you order a die
Copper or brass die — which should I choose?
Copper engraves the finest detail and transfers heat fastest — the standard for logo dies. Brass is harder and wears more slowly on very long runs. For most work, copper; for extreme continuous volume, brass.
What artwork file do I need to provide?
Vector artwork (AI, PDF, EPS) at final size is ideal, with the mark size in mm and whether the impression is raised or recessed. High-resolution bitmaps can work after evaluation.
How long does a custom die last?
Tens of thousands of impressions in copper with proper care; longer in brass and steel. Clean, dry storage and occasional re-polishing extend life further.
Can one die do both foil stamping and blind debossing?
Usually yes — both use the same heated die and press. Depth and edge profile preferences differ slightly, so test on your actual material first.
How much does a custom die cost?
Driven by die area and engraving complexity, then material, thickness and quantity. Send artwork for an exact free quotation.
Can I order dies for a non-WTONG press?
Yes. Provide the machine brand and model, or the mounting plate dimensions and fixing method, and the die is machined to fit.