
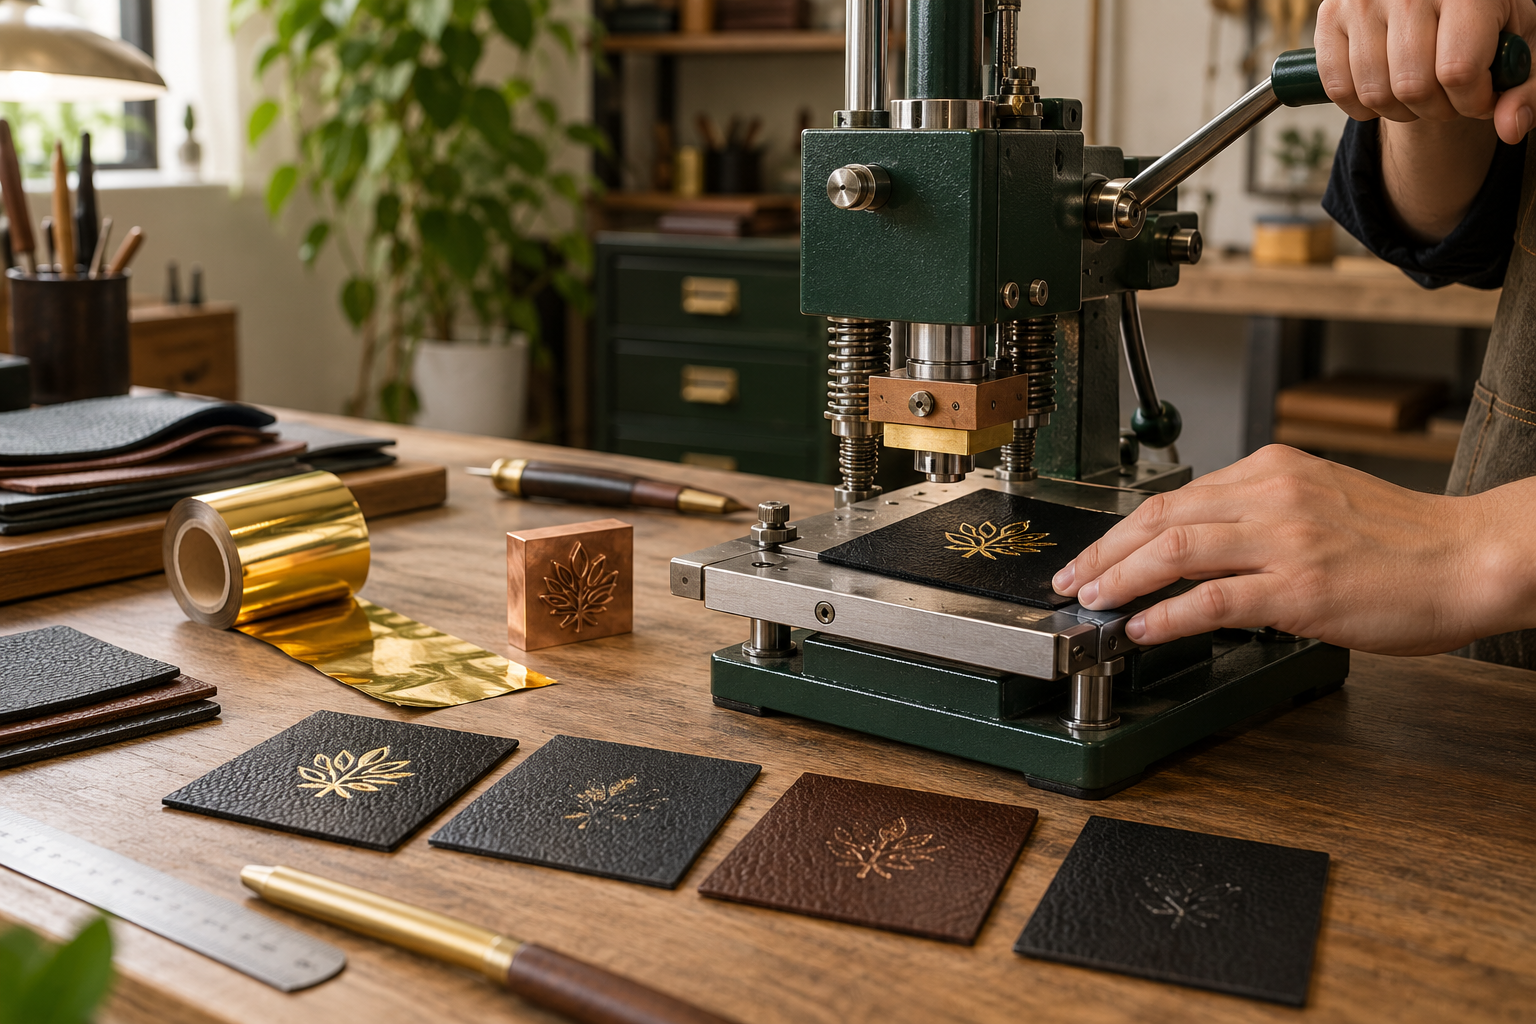
Do not change every setting at once. Begin with scrap from the real product, hold two variables steady and adjust only one. This makes the cause easier to identify and the successful setting easier to repeat.
1. The temperature is too low
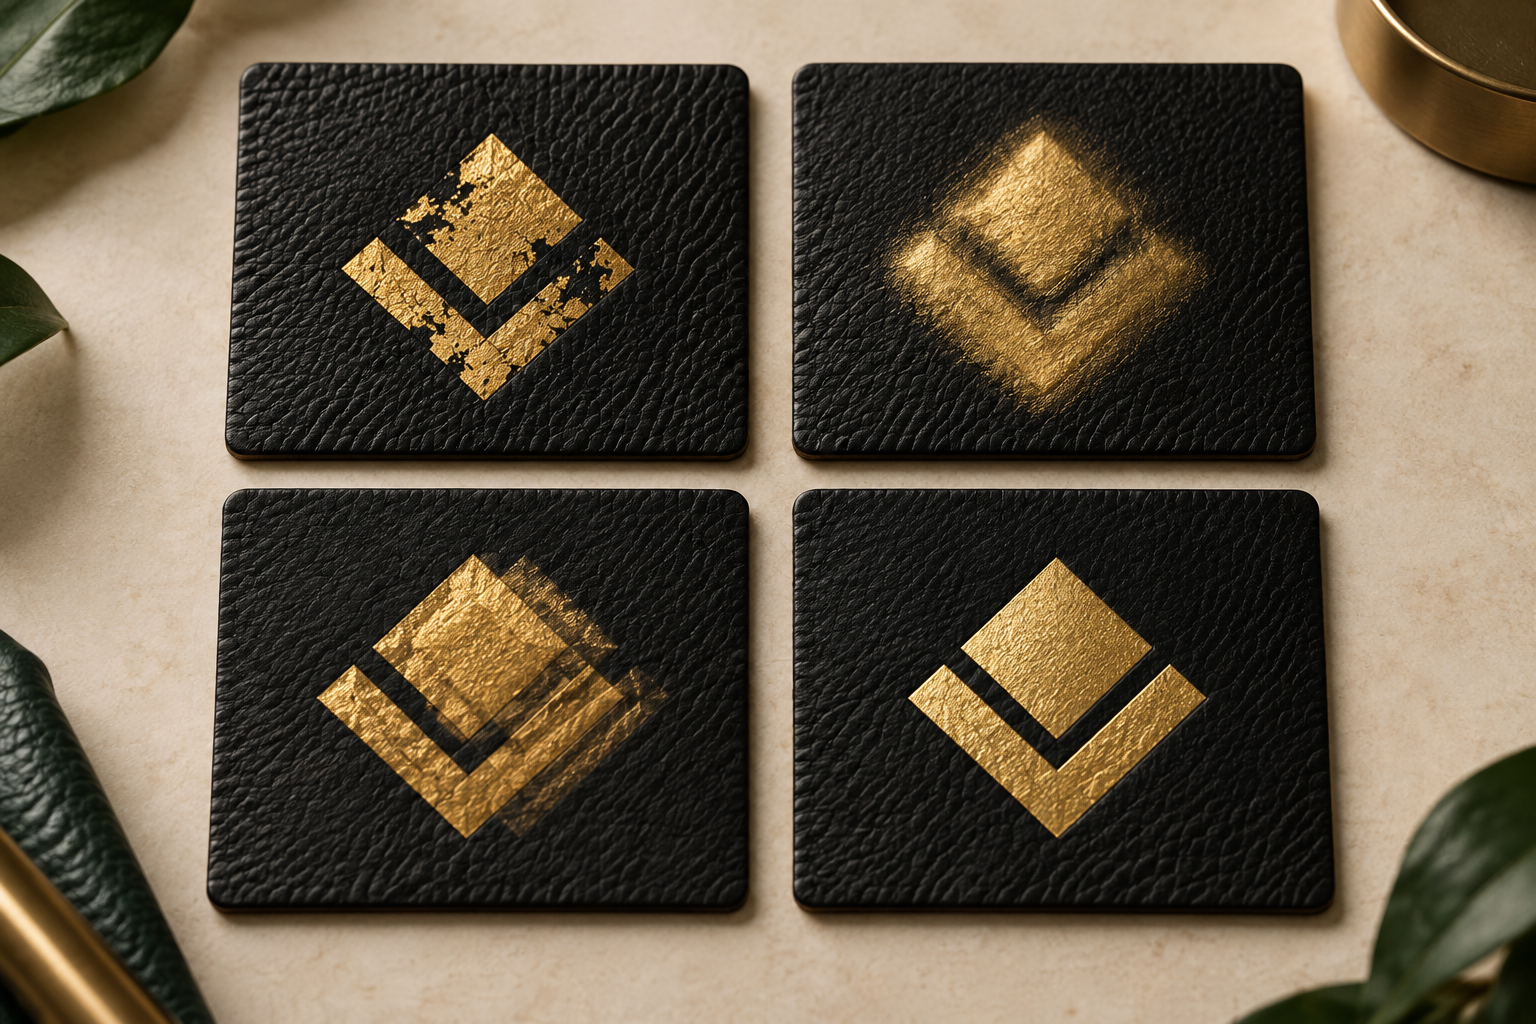
Foil adhesive needs enough heat to activate. If the image looks pale or has clean missing areas, increase the set temperature in small steps and allow the die to stabilize before testing again.
2. The temperature is too high
Excessive heat can make metallic foil spread, dull or stick outside the artwork. Reduce the temperature when edges appear soft, filled-in or hazy. A finer logo often needs more careful heat control than a solid block.
3. Pressure is uneven or insufficient
A transfer that is strong on one side and weak on the other often indicates uneven support, a tilted die or insufficient pressure. Keep the workpiece flat and supported, then increase pressure gradually.
4. Dwell time is incorrect
Too little contact time may leave an incomplete image. Too much can overheat coated materials or produce blurred edges. Use a consistent press action and change dwell time in short, repeatable increments.
5. The foil does not match the surface
One foil grade will not bond equally to genuine leather, PU, PVC and coated paper. Surface coatings, plasticizers and texture all affect adhesion. Ask for a foil recommended for the actual substrate and test the production batch before ordering volume.
6. The surface is contaminated or heavily textured
Dust, oil, release agents and uneven grain can prevent full contact. Clean the test area using a method approved for the material. Deep texture may need a slightly softer support, adjusted pressure or artwork with stronger lines.
7. The die or workpiece moves
A loose copper die, flexible product or shifting foil can create a double image. Secure the die, hold the foil flat and use positioning stops or a simple fixture. Also check that the die face is clean and level.
Start with the foil supplier’s recommended temperature. Make three samples at the same pressure and dwell time, changing temperature only. Select the best result, then fine-tune pressure and dwell time one at a time. Record the material, foil code, die and settings.
What the defect is telling you
✓ Missing areas: check heat, pressure and surface contact
✓ Weak metallic color: check heat and foil compatibility
✓ Blurred edges: reduce heat, pressure or dwell time
✓ Strong on one side: level the die and support
✓ Double image: secure the product, foil and die
✓ Works on scrap only: compare coatings and thickness
For the most reliable diagnosis, send WTONG a photo of the failed impression together with the material type, foil code, die size, temperature and machine model. We can help narrow the next test instead of guessing.
QUICK QUESTIONS
Foil transfer troubleshooting
Should I increase temperature or pressure first?
Start from the foil supplier’s temperature guidance. If the transfer is even but weak, adjust temperature first. If one area transfers and another does not, check flatness and pressure distribution before adding heat.
Can the same foil work on leather and PVC?
Sometimes, but not reliably in every case. Adhesive layers are formulated for particular surfaces, so verify compatibility with the exact material and coating.